
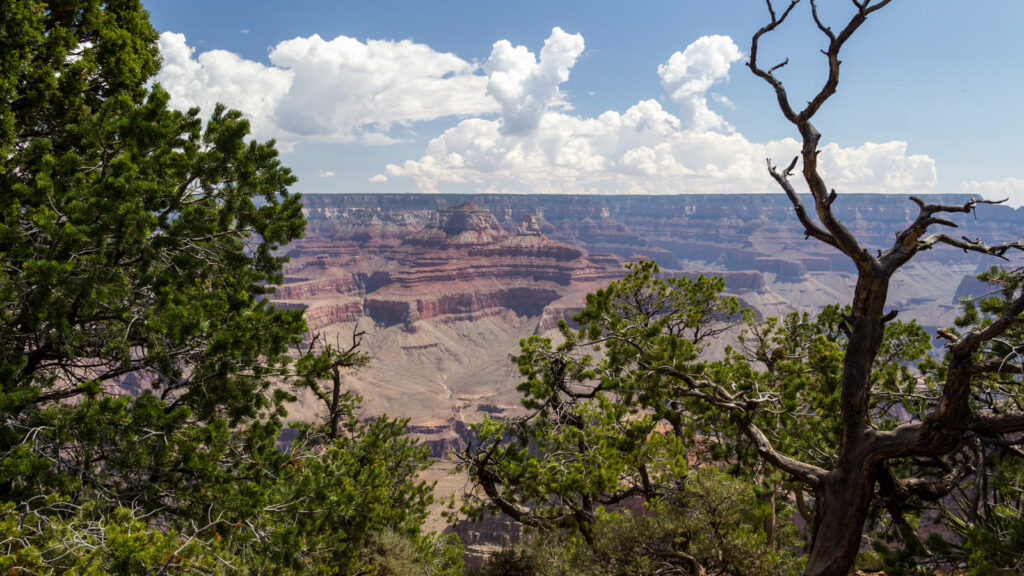
Packing for the Grand Canyon is not like packing for any other national park. The rim sits around 7,000 feet, where a summer morning can feel cool and a winter morning can be well below freezing — and the canyon floor, a mile below, can run 20 to 30 degrees hotter than the rim on the same day. Whatever you bring has to work in two climates at once, and the wrong choice is not an inconvenience here. It is the difference between a great hike and a rescue.
This list of what to pack for Grand Canyon is split by season and by trip type, because a rim walk in December and a hike below the rim in July need almost nothing in common. It also starts with the situation on the ground in 2026, because a flash flood in August changed what you can count on inside the canyon — most importantly, water. Read the first section before you pack a single thing.
The Water Situation First: What the 2026 Closures Change About Packing
On August 29, 2026, a flash flood in Bright Angel Canyon damaged the Transcanyon Waterline, the pipeline that carries water from Roaring Springs to the South Rim. The park moved to Stage 4 water restrictions on August 31, and the effects are still in place. The five in-park lodges run by Xanterra — Bright Angel, Kachina, Maswik, Thunderbird and El Tovar — have been closed to overnight guests since August 31 and are planning to reopen on November 20, 2026. That date is a target, not a promise: the park says the restoration dates are estimates and may change, and the reopening will happen in phases. Check the park’s alerts before booking anything you cannot cancel.
Yavapai Lodge is closed until further notice, Trailer Village RV Park is closed, and Phantom Ranch at the bottom of the canyon is closed through at least January 31, 2027. The North Kaibab Trail is closed, Bright Angel and Cottonwood campgrounds are closed with no reopening date announced, and the North Rim is open for limited day use only through November 30, 2026.
What matters most for packing is the water. There has been no potable water in the inner canyon since September 6, 2026 — not at the Bright Angel resthouses, not at Havasupai Gardens — and Mather Campground is dry camping only. Fill up at the South Kaibab and Bright Angel trailheads, carry a filter or purification tablets as backup, and do not plan a hike around refilling inside the canyon. In normal years the taps are a safety net; in 2026 that net is gone.
The One Rule: Pack for Two Climates in One Day
The Grand Canyon’s altitude is the first thing to respect. The South Rim sits around 7,000 feet, where the air is thinner, the sun is stronger and you dehydrate faster than you expect — even when it does not feel hot. Drink more than you think you need, go slower than you think you should on the way up, and give yourself a day at the rim before a big hike if you have just flown in from sea level.
Then there is the temperature swing. A July morning at the rim can start in the 60s, while the canyon floor passes 110 degrees in the shade by early afternoon. In January the rim can be below freezing with ice on the trails while the bottom sits in the 50s. The rule is simple: pack layers you can add and shed, not one heavy outfit. A moisture-wicking base layer, a warm mid-layer and a windproof shell cover almost every Grand Canyon day. If you only have a day at the rim, our Grand Canyon in One Day guide shows how to use the viewpoints and the shuttle without overpacking — but the layer rule still applies, because the rim at sunrise and the rim at noon are two different places.
Water and Food: How Much to Carry Below the Rim
Water is the heaviest thing in your pack and the most important. The Park Service’s guidance for Grand Canyon heat is about half a litre to a litre of water or sports drink per hour, and on a steep summer climb you can lose one to two litres an hour in sweat. The Grand Canyon Trust’s rule of thumb is a minimum of three litres a day. Carry at least two to three litres for any hike below the rim, more in summer, and turn around while you still have about half your water left.
Carry water so you can drink while walking. A hydration bladder with a hose is the easiest system on a steep trail, and a bottle alongside it is your backup if the bladder leaks. Keep electrolyte sachets or salty snacks in your pack: drinking plain water without replacing salt is how hyponatremia happens, and the Park Service warns against forcing fluids — drink to thirst and eat salty food.
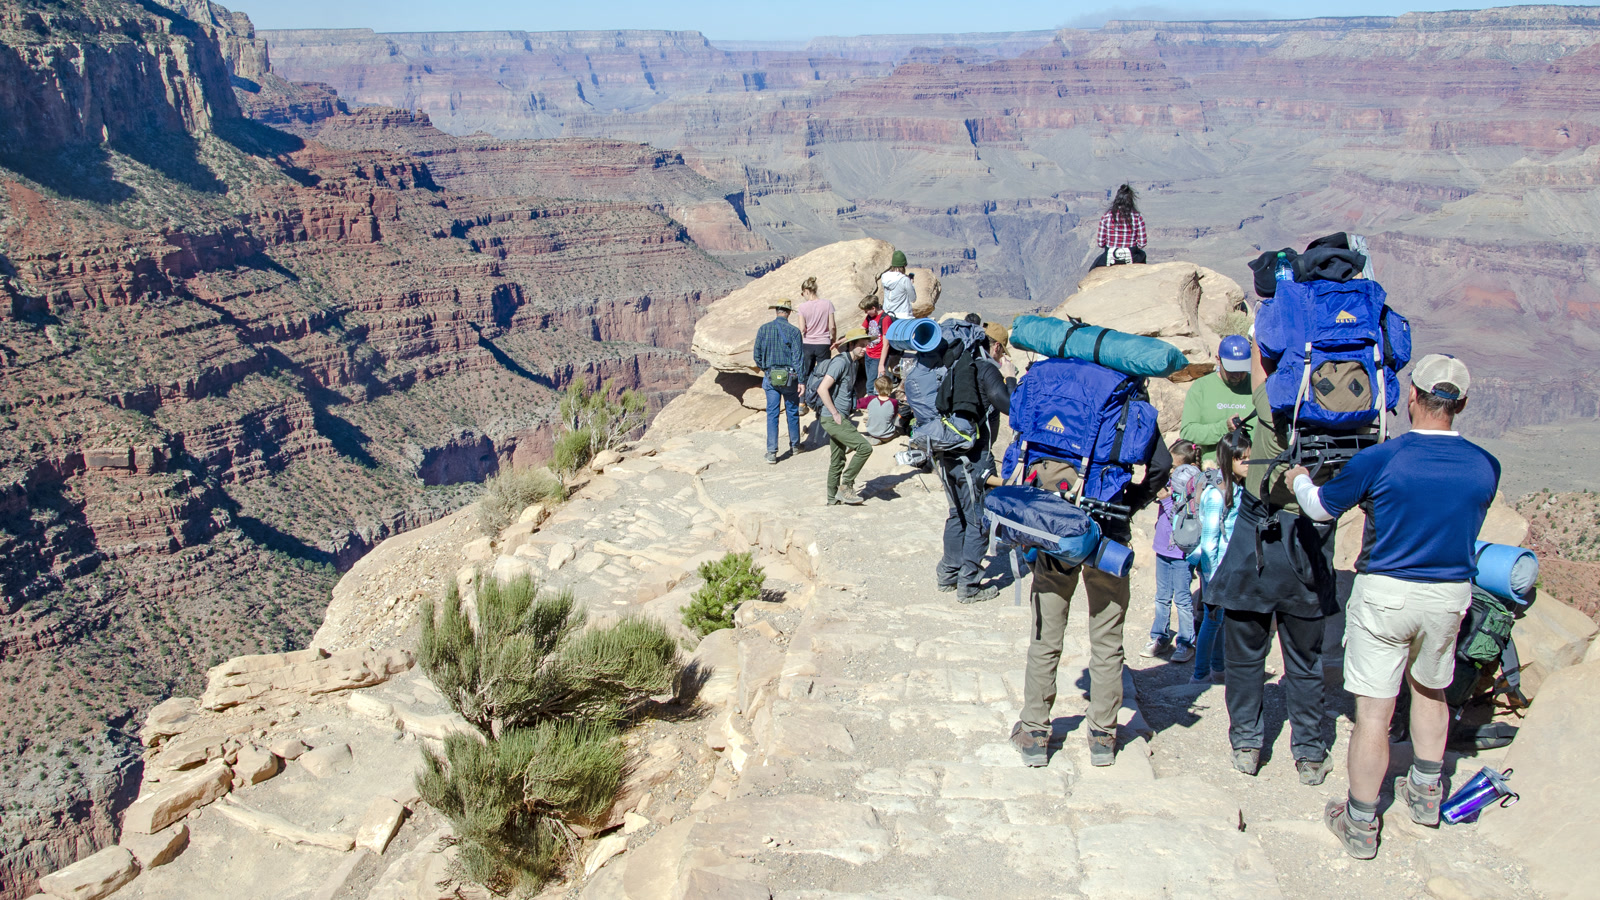
Food matters as much as water. The climb out is the hard part, and it comes when you are tired and hot, so pack dense, salty food you will actually want to eat: trail mix, sandwiches, energy bars, dried fruit, nuts. Eat a little at every rest stop. In summer, start before sunrise and plan to be out of the canyon or resting in shade between 10am and 4pm.
Footwear That Handles Rock, Dust and Ice
Your shoes are the second most important item after water, and the canyon is hard on them. The trails are hard-packed dirt, loose rock, stone steps and fine dust that gets into everything. You need a sturdy hiking shoe or boot with ankle support, a grippy sole and a toe cap that can take a knock on a rock step. Trail running shoes work for a short rim walk in dry weather, but for anything below the rim, boots are the safer choice — the descent is steep, the steps are uneven, and a twisted ankle a mile down is a serious problem.
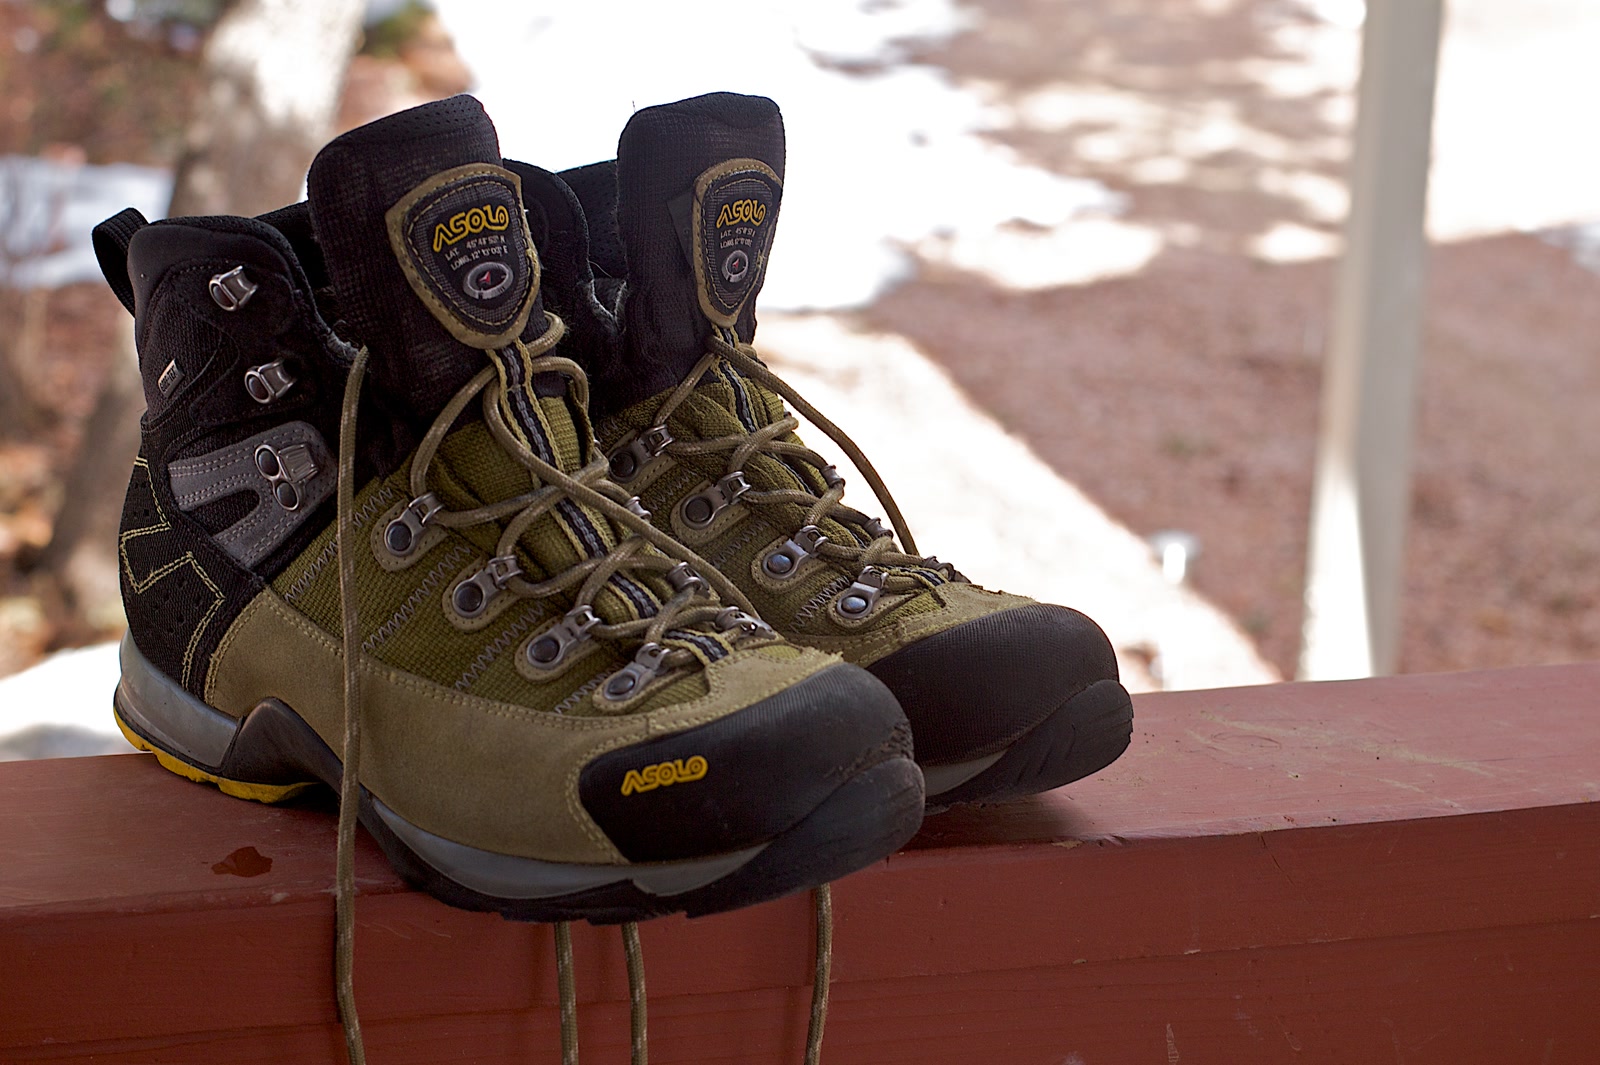
Break your boots in before the trip: a brand-new pair on a Grand Canyon hike is how blisters happen, and a blister at the bottom of the canyon is a long way from help. Wear them for a week of ordinary walking first, with the socks you will hike in — wool or synthetic, not cotton, which holds sweat and rubs. Bring a spare pair: dry socks at the halfway point of a long hike feel like a new pair of feet.
In winter, the trails near the rim ice over, and shaded sections of the Bright Angel and South Kaibab trails can stay icy for weeks. Pack traction devices — slip-on spikes for your boots — from December through February, and carry trekking poles. Poles take a surprising amount of strain off your knees on the long descent, and they are worth their weight on the climb back up.
Layers by Season: Summer Heat, Winter Ice and the Shoulder Months
The same trail needs a different bag in July and in January, and the shoulder months — March to May and September to November — are the most changeable of all, with warm afternoons and cold mornings in the same day. For month-by-month weather, see our Best Time to Visit Grand Canyon guide.
Summer layers are light: a long-sleeved sun shirt, a wide-brimmed hat, sunglasses and sunscreen. The sun at 7,000 feet is fierce, and the canyon walls reflect it back at you, so cover up rather than relying on sunscreen alone.
Winter is the opposite problem: an insulated jacket, a warm hat and gloves for the rim, and traction spikes for icy trail sections. The canyon floor will be far warmer than the rim, so layers come off as you descend and go back on as you climb out. The shoulder months are the trickiest — a March morning at the rim can be near freezing and the afternoon at the river warm enough for a T-shirt — so bring the full layering set and a pack big enough to carry the pieces you shed. Whatever the season, pack a waterproof shell: summer thunderstorms build fast, and a downpour at the rim is a real possibility from July through September.
Sun, Dust and Wind: The Small Items That Save a Day
The small items are the ones people forget, and they decide whether a day is comfortable or miserable. Sunscreen is first: broad-spectrum, SPF 30 or higher, applied before you start and reapplied every two hours and after sweating. The dry air and the altitude mean you burn faster than you expect, and reflected light off the walls burns places you forget, like under your chin. Lip balm with SPF matters too.
Dust is the second problem. The trails are dusty, the wind picks up in the afternoon, and fine grit gets into eyes, cameras and lungs. A buff or bandana is the most useful small item you can pack: wear it over your nose and mouth on a dusty stretch, or wet it and put it round your neck to cool down. Sunglasses with proper UV protection are essential — the glare off pale rock is intense. Bring a small first aid kit: blister plasters, adhesive bandages, pain relief, any personal medication, and antiseptic wipes. A blister plaster applied early is the difference between a sore foot and a ruined hike.
Wind is the third. The rim is exposed, and a windproof layer makes a cold morning bearable and a hot afternoon comfortable. A lightweight wind shell that packs into its own pocket earns its place in every season. Add a headlamp — even on a day hike, because a slow descent can run into dusk — and a fully charged phone with the park’s offline map saved, plus a portable charger. There is little to no signal inside the canyon, so tell someone your route and expected return time before you go below the rim.
The Daypack: What Goes In for a Rim Walk vs a Hike Below
The daypack is where the season and trip split becomes practical. For a rim walk — the Rim Trail, the viewpoints, the shuttle between overlooks — a small pack is enough: water, sunscreen, a layer, snacks, your camera and a hat. You are never far from the village, the shuttle or a water fountain, and you can travel light. If you are following our Grand Canyon Itinerary over several days, the same small pack covers the rim days.
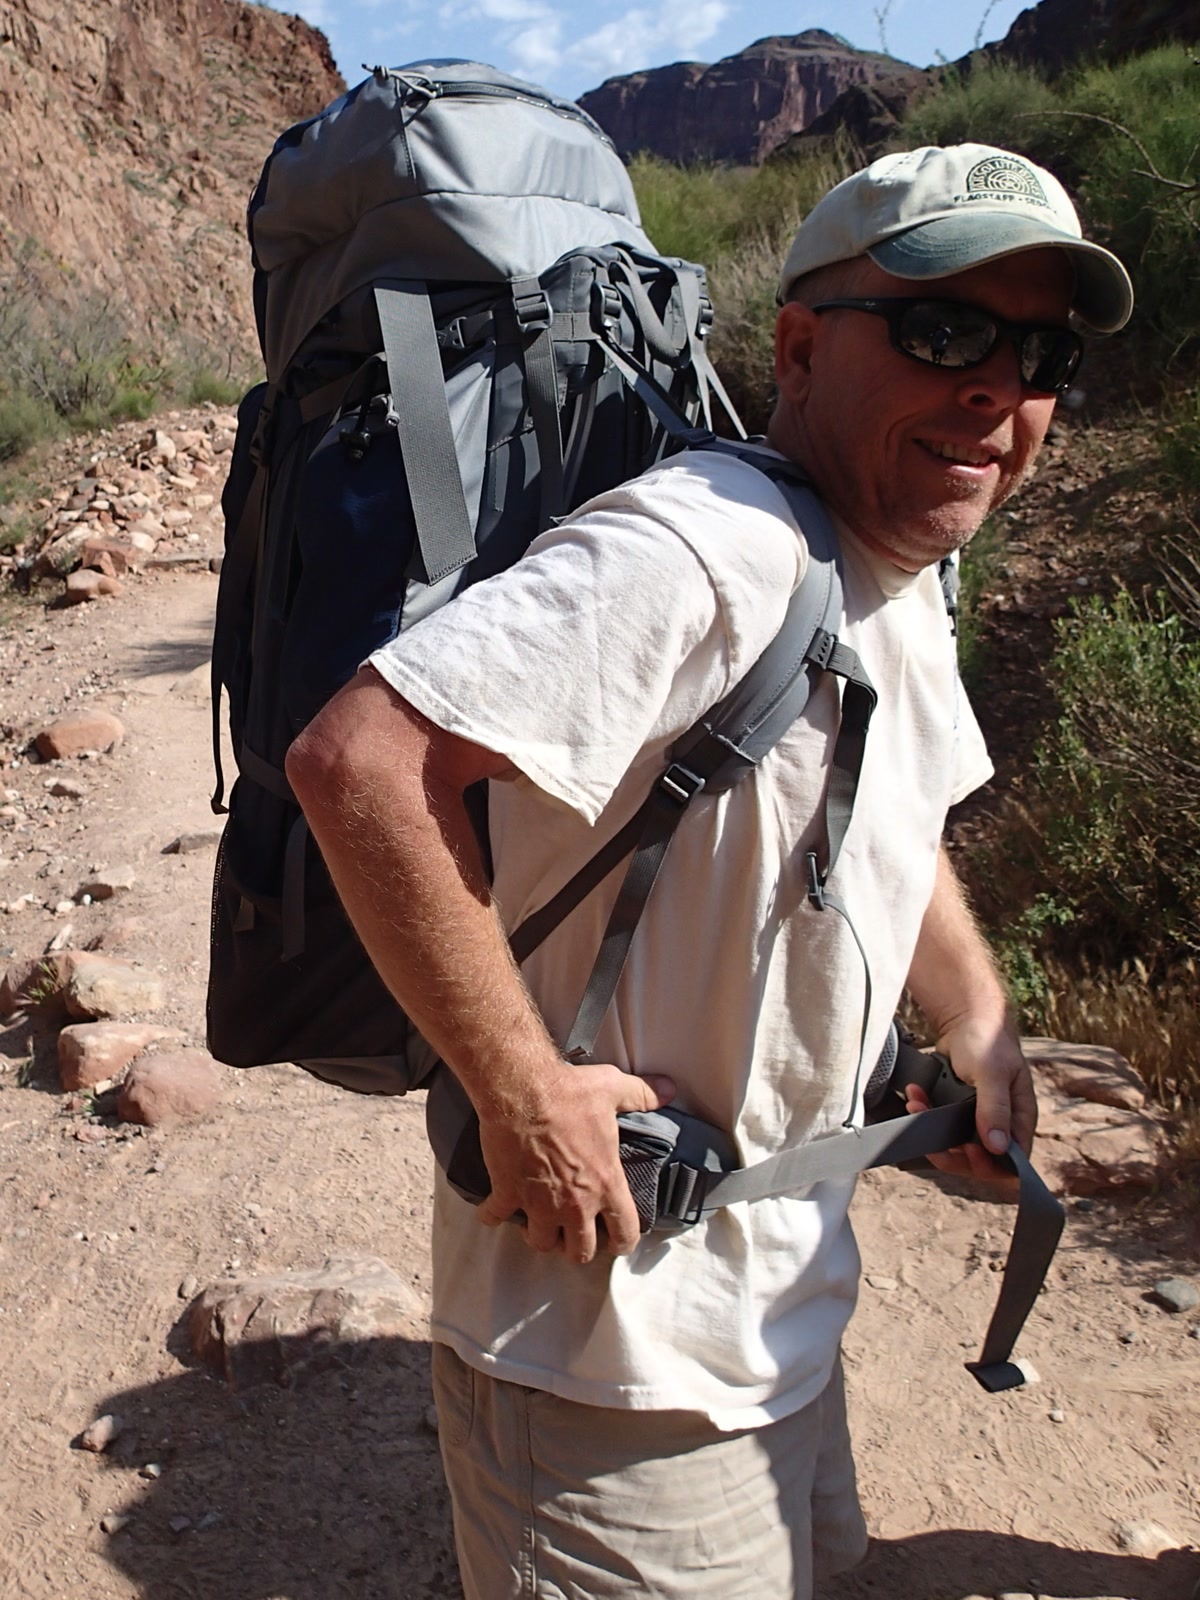
A hike below the rim is a different pack. You need a proper daypack of 20 to 30 litres with a hip belt, because the weight of three litres of water alone is three kilos, and it has to sit on your hips, not your shoulders. Inside it: all your water, food for the whole hike plus a reserve, your layers, sun protection, first aid kit, headlamp, filter or purification tablets, trekking poles strapped to the side, and a map. Pack it the night before, weigh it, and take out anything you have not used on a hike before.
Overnight Add-Ons: What Changes If You Sleep Below the Rim
Sleeping below the rim changes the list completely, and right now it changes it more than usual. Phantom Ranch is closed through at least January 31, 2027, and Bright Angel Campground and Cottonwood Campground are closed with no reopening date announced, so an overnight trip below the rim is not currently possible through the normal routes. Check the park’s backcountry page before planning anything overnight.
When overnight trips are possible again, the additions are: a backcountry permit, required for any overnight stay below the rim and applied for well ahead; a sleeping bag rated for the coldest temperature you will meet, which is the rim at night, not the canyon floor; a sleeping pad; a lightweight tent or bivy if you are camping; a stove and fuel, because there is no food service below the rim; and more water capacity than you think you need. A rim-to-rim trip is an overnight undertaking for almost everyone, not a day hike. Day hikes below the rim need no permit, but the moment you sleep down there, the permit and the full kit apply.
What to Leave Behind
Half of good packing is knowing what not to bring. Leave the cotton behind — cotton T-shirts, socks and underwear hold sweat, stay wet, chill you when the wind picks up and rub blisters into your feet. Wear wool or synthetic next to your skin instead. Leave the jeans at the hotel: heavy, slow to dry and stiff on a steep trail. Leave the new shoes — break them in at home. Leave the drone: drones are not allowed in the park. Leave the bulky extras — the camp chair, the big tripod, the hardcover book — for the car or the hotel room. And leave the expectation that you can buy what you forgot inside the park: with services reduced under the water restrictions, hours are shorter and stocks are thinner than usual. Buy what you need in Flagstaff or Tusayan before you enter the park.
The Night-Before Check: A Short List to Run Through
The night before, lay everything out and run through it once. Water: full bottles plus the bladder, filter or tablets in an outside pocket. Food: packed, salty, more than you think you need. Layers: base, mid, shell, hat, gloves if it is cold. Feet: broken-in boots, hiking socks, a spare pair, blister plasters. Sun: sunscreen, lip balm, sunglasses, hat. Tools: headlamp, poles, map, charged phone, charger. Documents: your entrance pass — $35 per vehicle or $20 per person, seven days, card-only — plus your backcountry permit if you are staying overnight. Then check the park’s alerts one more time. In 2026, the alerts are not a formality.
How much water should I carry at the Grand Canyon? About half a litre to a litre per hour in the heat, and at least two to three litres for any hike below the rim — more in summer. Turn around while you still have about half your water left, and never count on refilling inside the canyon in 2026.
Can I drink the water at the Grand Canyon? There is no potable water in the inner canyon right now — not at the resthouses, not at Havasupai Gardens. Fill up at the trailheads, carry a filter or purification tablets, and check the park’s water-status page on the morning of your hike.
Do I need a permit to hike below the rim? Day hikes need no permit. Any overnight stay below the rim needs a backcountry permit, applied for well ahead, and right now the campgrounds and Phantom Ranch are closed, so overnight trips below the rim are not currently possible.
What shoes should I wear at the Grand Canyon? Sturdy hiking boots with ankle support and grippy soles for anything below the rim, broken in before the trip, with wool or synthetic hiking socks. Add traction spikes in winter and trekking poles in every season.